Librarian costume - Bloomers.
The first step in my Librarian costume is the bloomers. Research has shown that these are optional at this time, but if I’m going to be making an entire neo-victorian costume from the ground up, why skimp here?
There were two styles of bloomers which were common during the Late Bustle period - open and closed. The open style was open from above the inner leg seam to the waistband, allowing (one might assume) for ease of access when visiting the necessary. The closed style was, of course, closed.
Since I’ve experienced first hand the frustrations of using the restroom while wearing a corset and skirts (much less the full panoply that I’m going for here), I decided the open style might better fit my needs.
Trial 1
At first, I was young and ambitious. I decided that not only was I going to do this project right, but I was going to try to use period patterns while doing so.
I had a copy of this book:
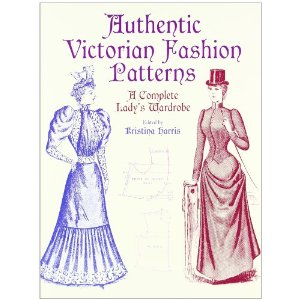
This book is really fascinating, but quite a devil for me to try to work with. The patterns in the book are ones that would have shown up in women’s magazines or in the newspaper, and thus have been scaled to fit on a page, which means they look like this:

So the first step was to trace the pieces I need onto graph paper. Then, I measured myself to figure out how to scale up the pattern. I selected my hip measurement, as that is my largest figure, and divided that number by the number of squares on the graph piece. This told me how large each square needed to be.
Then, I took a lot of regular printer paper, and started drawing a grid on them, where each square was the correct size to make my little pattern into one large enough to fit. Let’s just say this involved a ruler, tape, and quite a bit of swearing.
After a while, I have a huge mess of printer paper taped together, with a grid on it. Next step was to transfer the pattern from the small graph paper to my large grid. This part was actually kind of fun, but it took a while. Finally, I had a paper copy of the pattern enlarged to fit my hip size. I cut out the pattern piece and wrapped it around…And it was much too small at the thigh.
So I set it in the “Time Out” corner for a while, and tried again. I measured my thigh and figured out how much smaller the pattern piece was, and took my handy-dandy scissors and made an dart, attempting to keep the waist the same, but not worrying about the hips too much.
Wrapped the piece around me, and it looked like it would fit, so I took a piece of scrap fabric from my stash, cut out the piece, and then tried the wrap around method, and…
Let’s just say I scrapped the whole thing.
Back to the drawing board
So now it was back to the drawing board. I spent a week googling picture of Victorian bloomers, and letting things percolate. A bit of a tip: make sure you have Safe Search on when you google Victorian bloomers.
Finally I came up with the idea of taking an existing (full size) pattern and modifying it to work for the bloomers. I decide to use a pattern for pyjama bottoms as my base.

I had made this pattern a couple of times before to make pyjama bottoms, so I was familiar with it, and knew how it would fit. I decided that I could get away without making a mock up first, since I was going to be using stash fabric anyway.
I used some leftover white quilting fabric, which has a lovely plush feel to it despite being nicely thin. I laid out the fabric and the pattern, and decided to make the legs half the length of the pants pattern, so I folded the pattern up at the correct spot. This makes them about knee length. I cut everything out, and used a fabric pencil to mark out the seam lines.
The next day, I sewed my pieces together. I sewed the inseams together, and the outer seams on the legs, but only sewed about four inches down the back seam. For the open crotch, I folded the fabric back along the seam line, and ironed it well, then sewed it down.
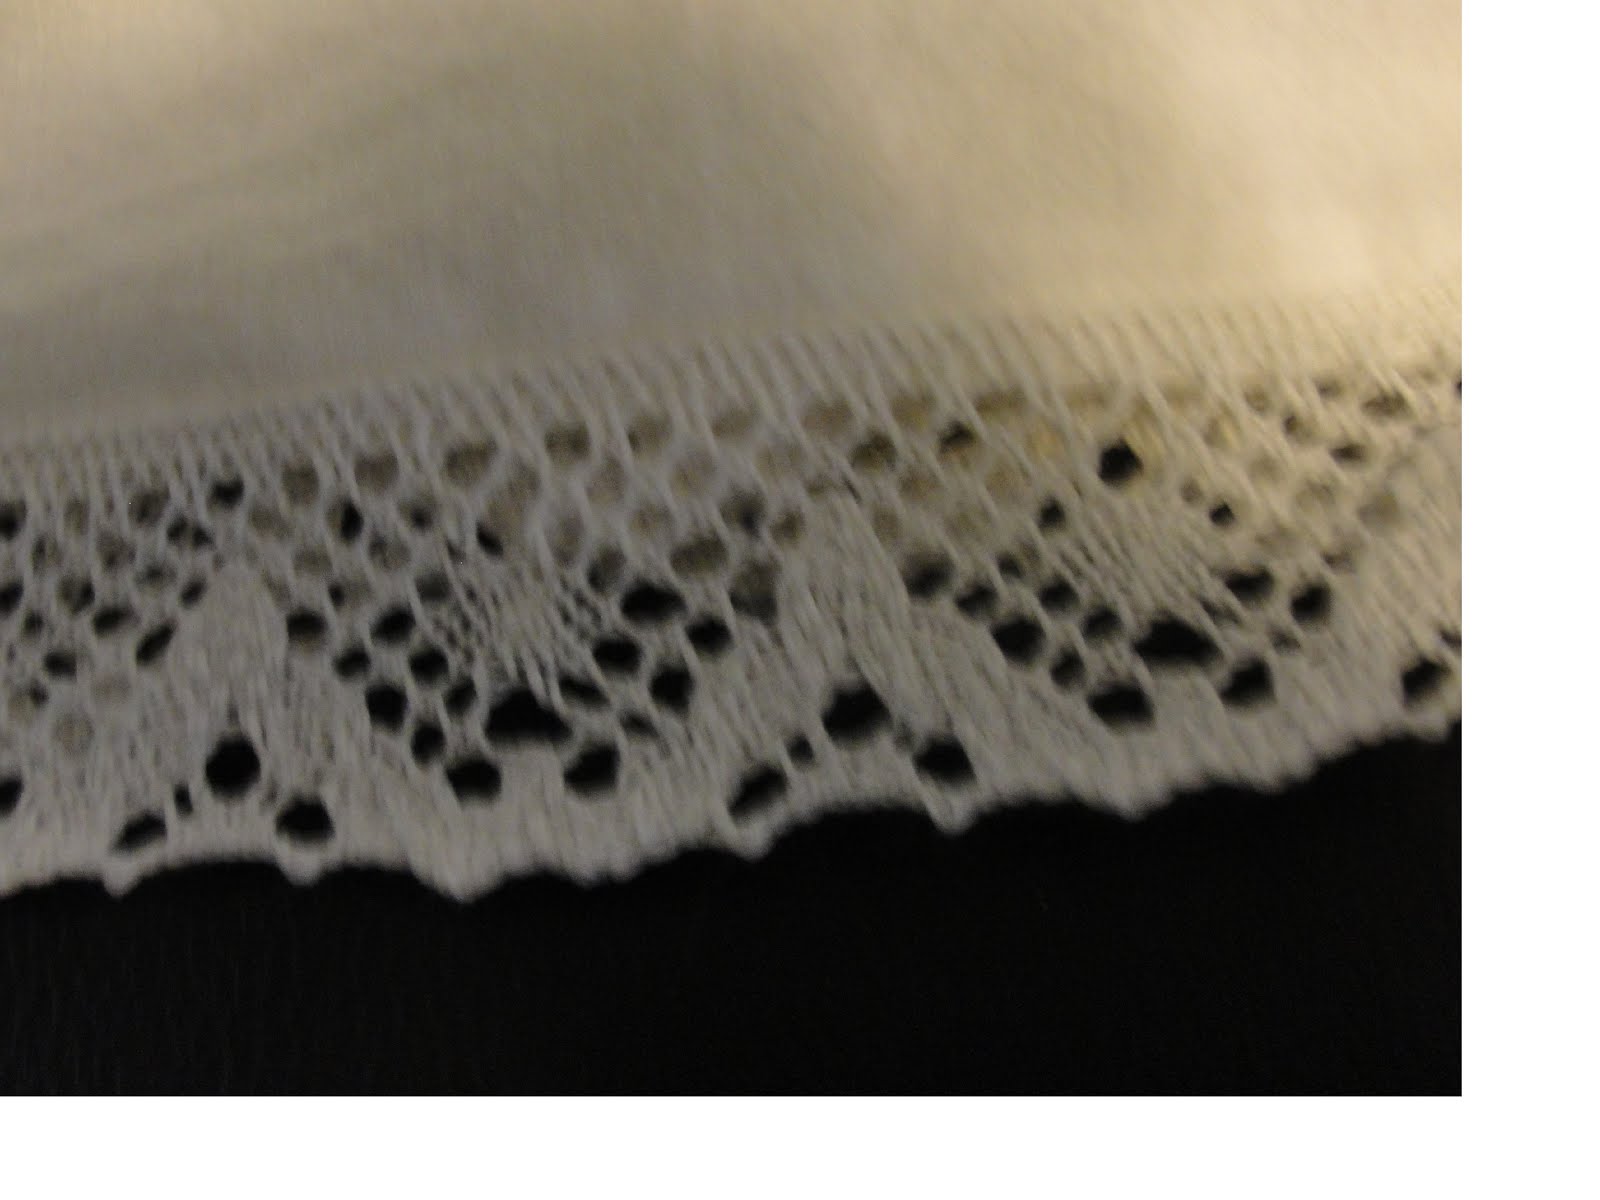
I finished the hem on the legs and added a lace trim to the edge, then finished the hem on the waist.
At first I thought the front would close with a button, so I sewed one on and made a hand tatted button loop on the other side.
But after trying it on, I really didn’t like how everything fit through the waist. I have a generously proportioned back end, and the back of the bloomers was just not fitting enough to follow my curves.
So I put everything away for a couple of days, until I had talked myself into actually putting in a drawstring like I had planned.
I decided that before I added the drawstring, I needed to add some darts. I created four darts in total for shaping, spaced out so there were two in the back and two in the front. I removed the buttons and buttonhole loops, and created a waist band.
I machine sewed down the waistband to the inside of the bloomers, then folded it over and handstitched down the front side. This took a couple of movies and rousing game of Cards Against Humanity. And have I ever mentioned that I dislike handsewing? And yet, I keep putting myself into position where it is the best tool for the job.

I created a drawstring , and inserted it into the waistband, and tried the bloomers back on. Much better fit. 
No comments:
Post a Comment